The process for creating the art for my book “Oh My God!” can be very fluid but it tends to follow these steps. Depending on the page and my schedule it may take a month to finish a page. This particular page took a long time because while it was very simple I was very worried I would mess up.
Manuscript
This project is nothing without a script. This one was done in a very non linear way. I had a lot of ideas about what I wanted my book on religion to be and not a lot of clear ways to tell the story. Once I arrive at a general plot I will write multiple versions in Google Docs. Which are broken up into pages like this.
Page 1:
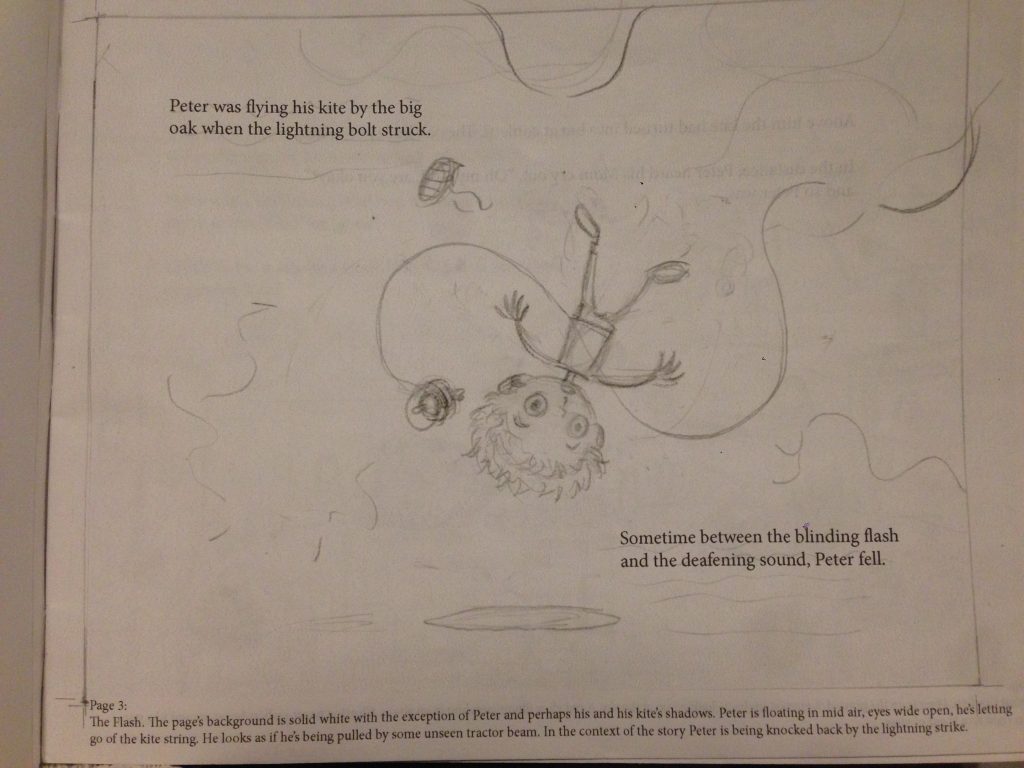
The Flash. The page's background is solid white with the exception of Peter and perhaps his and his kite’s shadows. Peter is floating in mid air, eyes wide open, he’s letting go of the kite string. He looks as if he’s being pulled by some unseen tractor beam. In the context of the story Peter is being knocked back by the lightning strike.
"Peter was flying his kite by the big oak when the lightning bolt struck."
"Sometime between the blinding flash and the deafening sound, Peter fell."
Design Studies
While I am writing a story I am usually trying to figure out what characters would look like. Here I am trying to loosely figure out the main character and how I would render him.
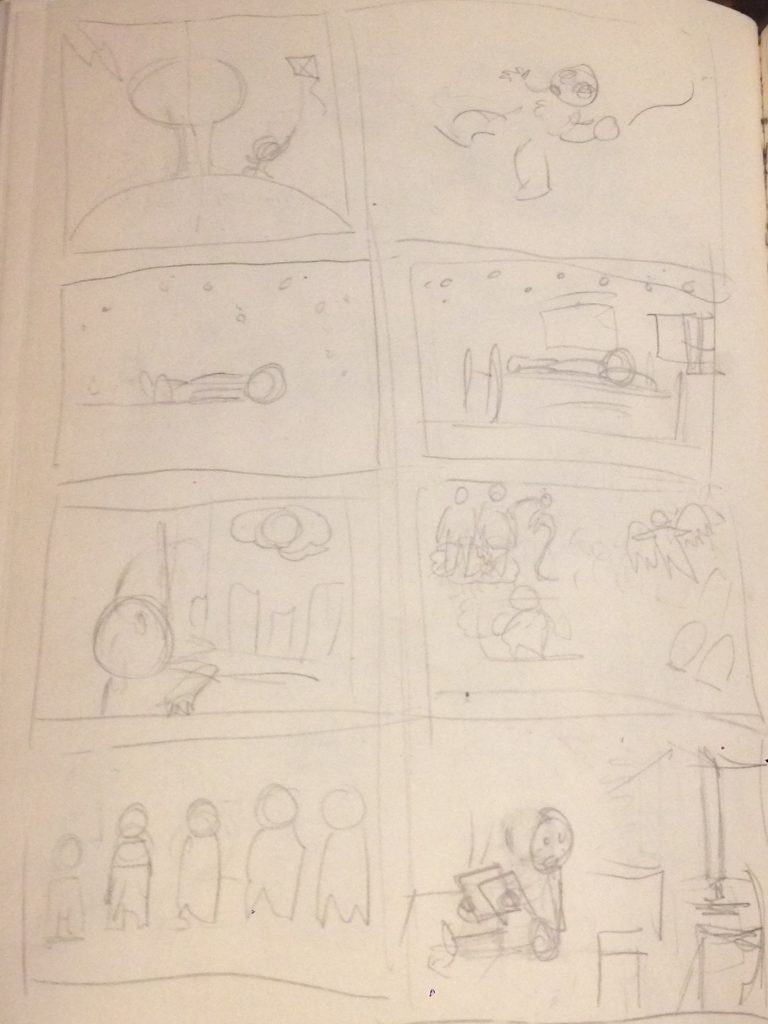
Thumbnails
Once I have an idea I will work out some quick small doodles in my sketchbook. I think about the story as a whole and not so much on the detail. How one page flows into the other and general composition.
Here I am trying to figure out what each page generally will consist of.
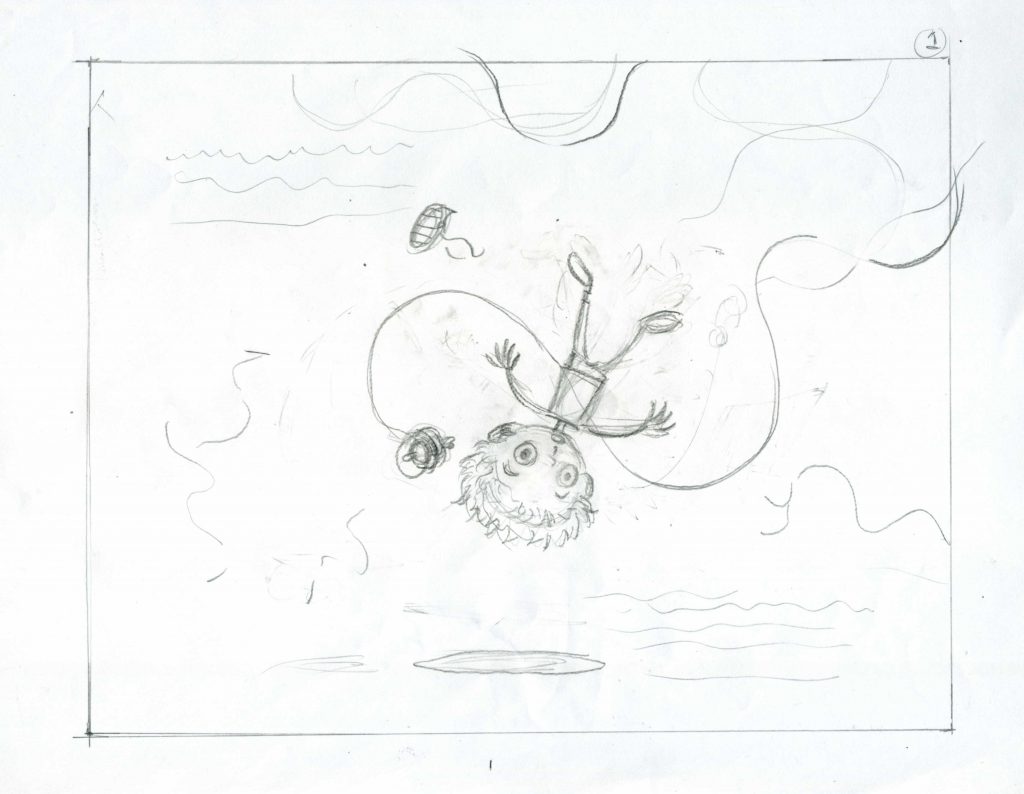
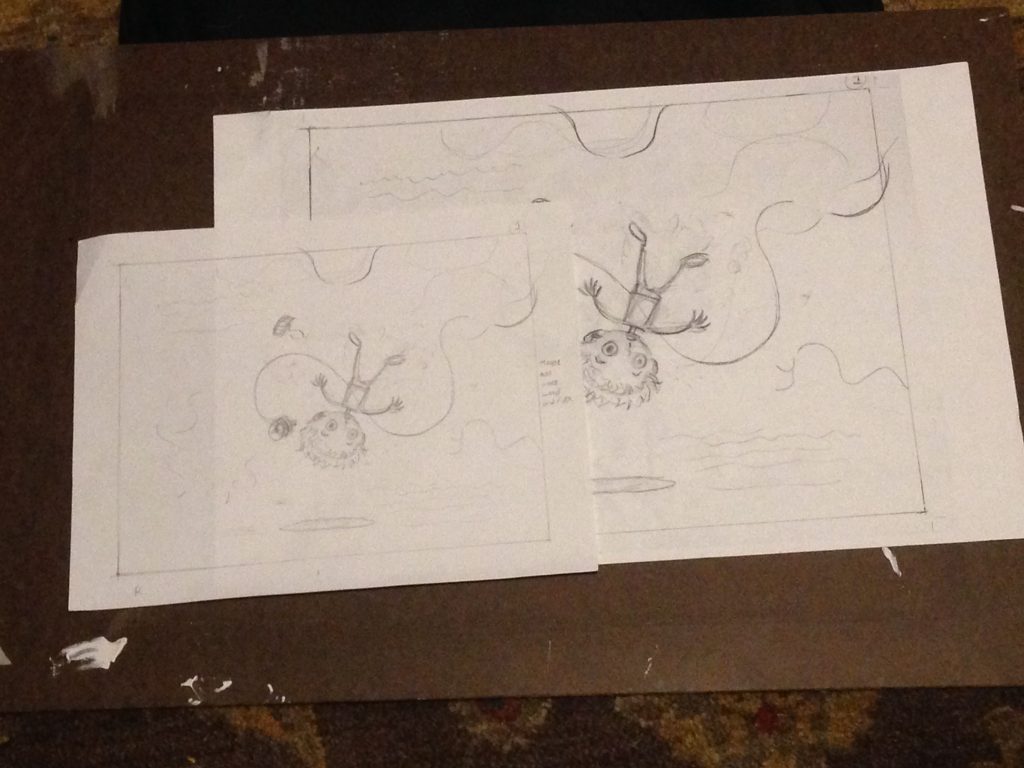
Roughs
These happen are more detailed versions of the thumb nails and focus on details that need to be nailed down like clothing, props, some lighting, figures etc. Here the character was funnier upside down.
My book will be printed on 9” x 7” scale so I worked at that size.
Book Dummy
When I had all the sketches my wife helped me add text to each page. This helps visualize where you would see the text when reading.
Enlargements
We took the scanned sketches and enlarged them so we could work at an increased scale that will best fit the 12” x 18” watercolor paper.
This will allow me to add more detail as I paint.
Transfer
I use tracing paper to ink the enlarged sketch. Here I tighten up any ambiguous lines.
I will tape this inked version to the back of my water color paper and using a light table I will lightly trace on pencil. I am ready to paint after that.
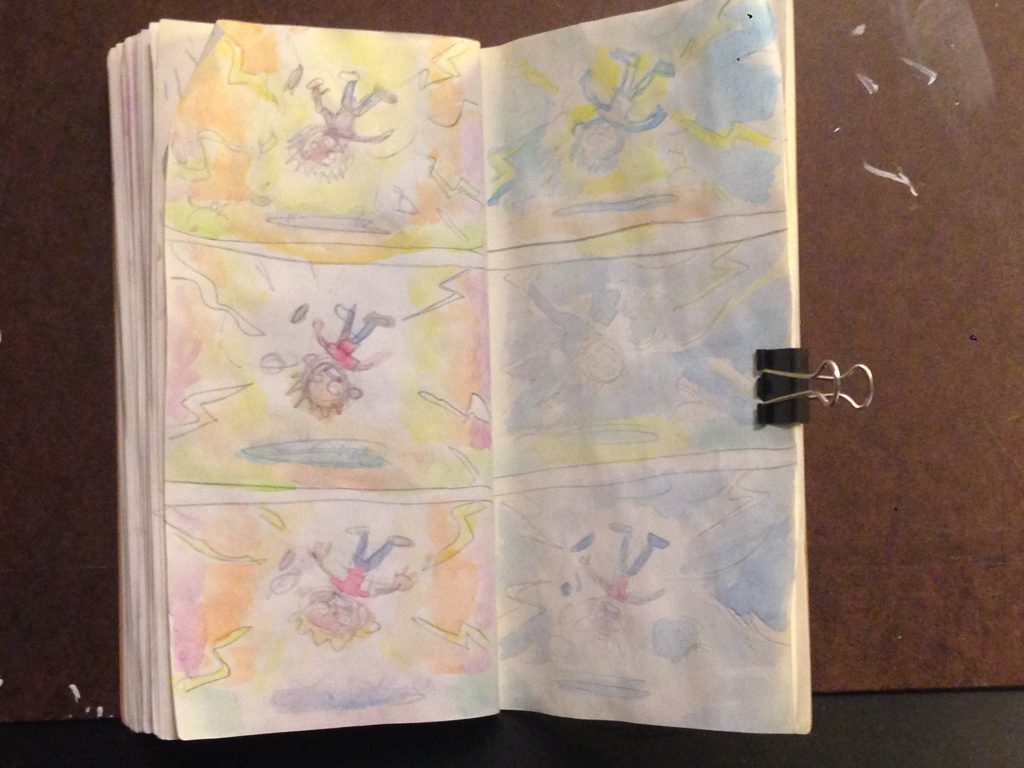
Color Studies
Before and during the painting of a page I will work out various thumbnail variations to pick the colors I will use in the painting. I may focus on the entire page or just one element at a time. These are great for getting color feedback from my wife who is also an artist.
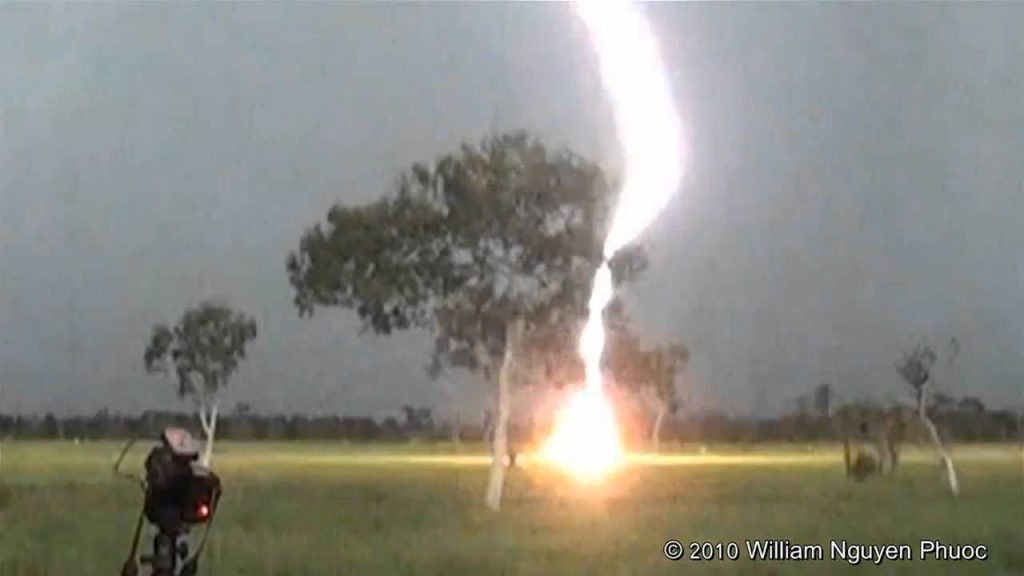
Reference
I look at a lot of reference while I draw but when I paint I try to find out what things look like in real life to get a frame of reference. Here is the light contrast of lightning.
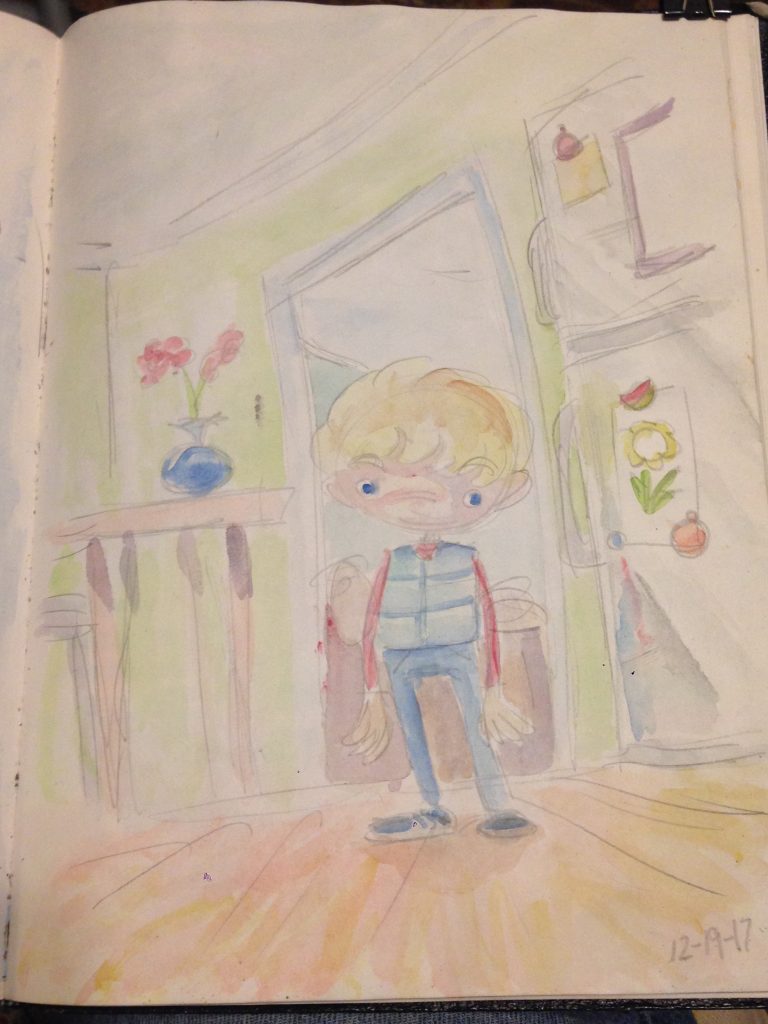
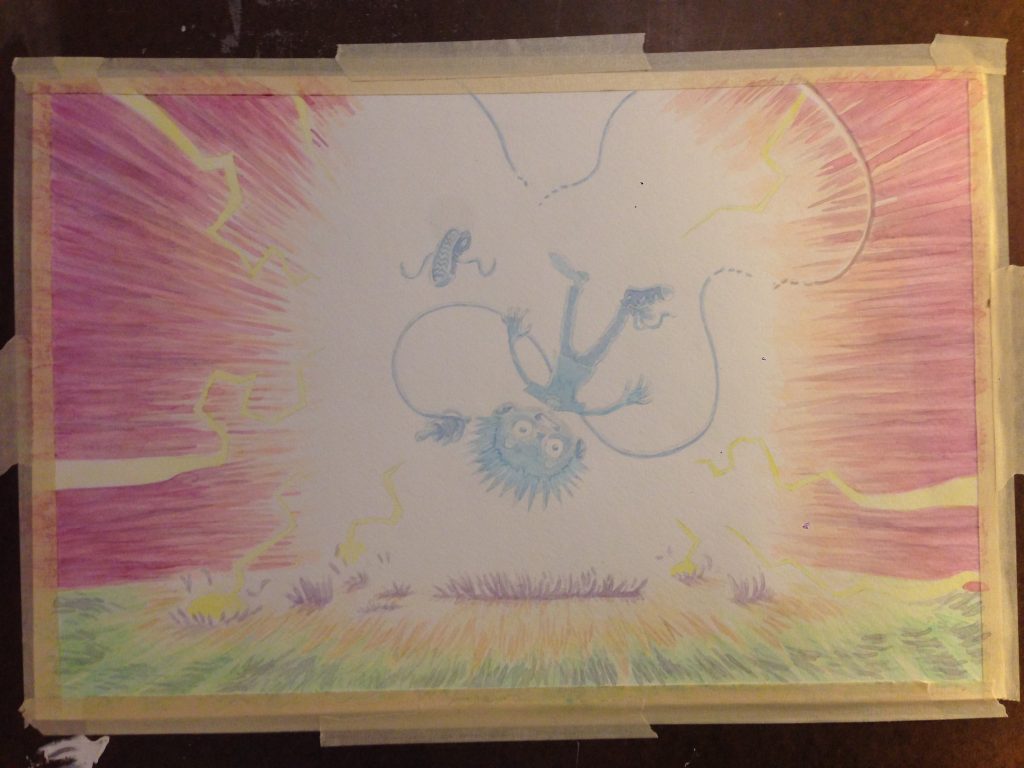
Painting
I am going to start saying that when I started I did not consider myself a good water colorist, and the more I do the more I learn how much room there is to improve. Part of starting a project like this is to want to get better by doing. My current process involves just building up to darker color little by little.
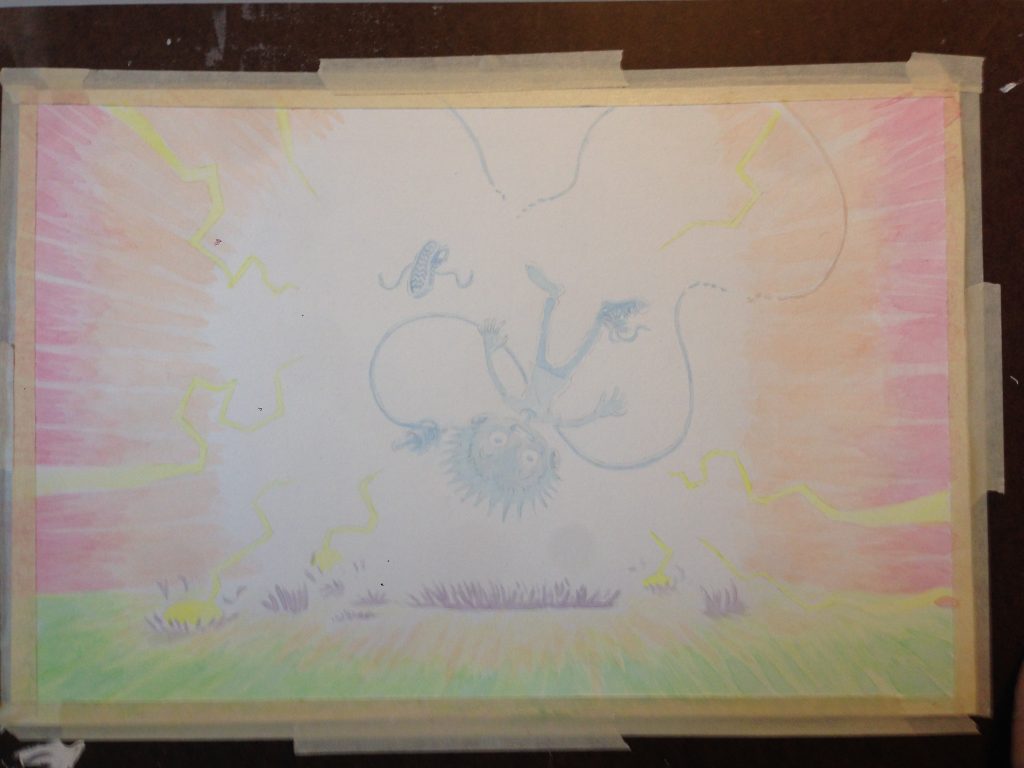
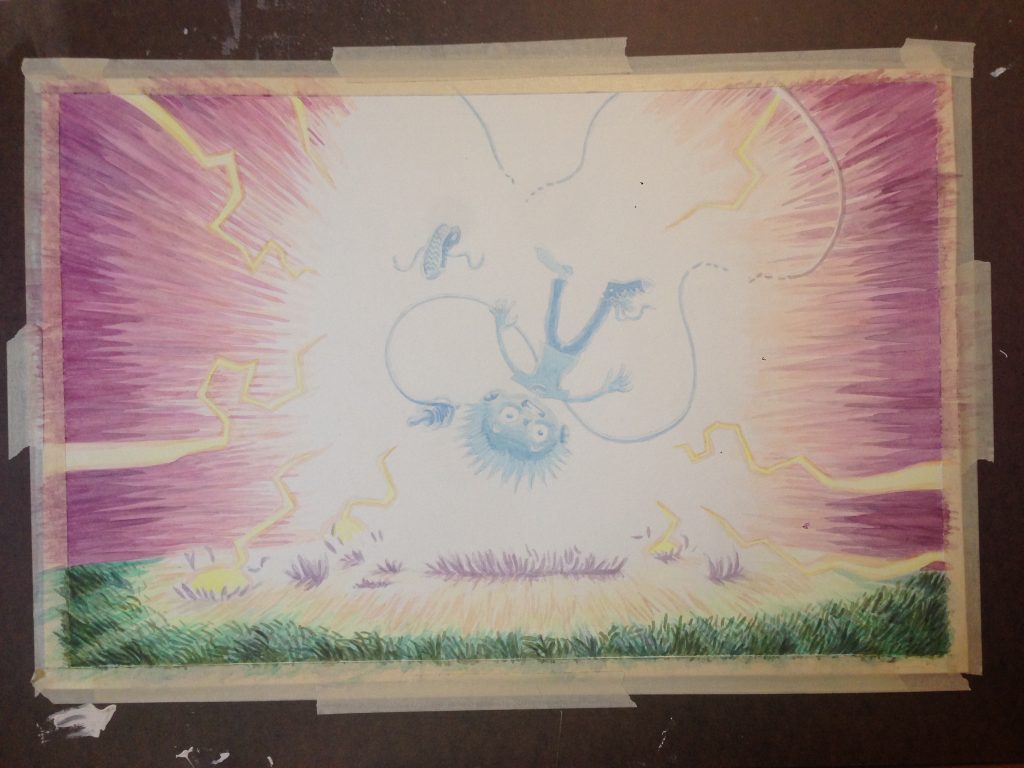
It takes a while for the paint to actually have high contrast but that’s okay. You can’t paint over watercolor like you can with oil or acrylic. To help me make decisions I will use my phone to photograph my work at various intervals to look at it in a different scale and context. Hopefully any issues will stand out in the small resolution.
At some point I either stop because I fear any more paint and I will mess up or I can’t think of what else to do to improve what I have. From here on I will have the art professionally photographed for use in the book.
Finished Photograph
Getting the work professionally photograph at a business really helps bring out the color. It also provides a high resolution image that can be used later when the final book is assembled. The files are several megs in size.
